 Alchemist quests
18 quests · 58 steps
Quests from the Alchemist (Balthazar and Lady Leclair), in the journal's own order.
Contents
- Carpentry Assistance
- A Black Cauldron For The Alchemist
- The Alchemist's Rumors
- The Alchemist's Mortar
- Scientific Instruments For A Laboratory
- Alchemic Wisdom
- Obtaining A Mill
- Explore The Hollow Halls
- Craft The Improved Grappling Hook
- Finding And Using A Gem Forge
- Among The Bluejays
- Alchemist Needs Shelter
- Staves And Spells
- A Cure For The Fell Curse
- A Cure For Hemotoxin
- An Eternal Spell
- A Glimpse Of Eternity
- Cat Search
Carpentry AssistanceWorld Quest
- Find The Ancient Vault
The Alchemist is convinced that another Ancient Vault may house survivors which could help with base building and storage.
Find the Ancient Vault he mentioned!
Ancient Vault — Carpenter, Springlands · Show on map
- Find The Carpenter
You've found the entrance to the Ancient Vault. The survivor must be inside somewhere.
Reach the end of the Ancient Vault to reach the sleeping survivor!
- Summon The Carpenter
The Carpenter could be saved! He needs to be summoned and placed in the base.
Rewards

Recipes tied to this quest
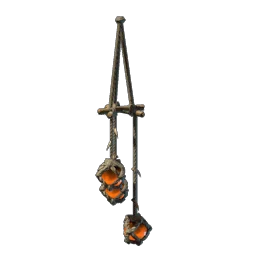
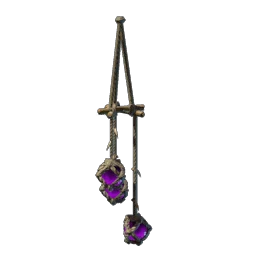
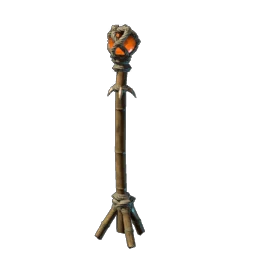
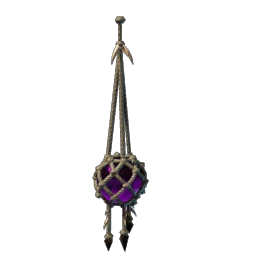
A Black Cauldron For The AlchemistWorld Quest
Comes after The Alchemist's MortarComes after any one of The Blacksmith's Request or Finding Masonry ToolsLeads to Scientific Instruments For A Laboratory
- Speak To Emily Fray
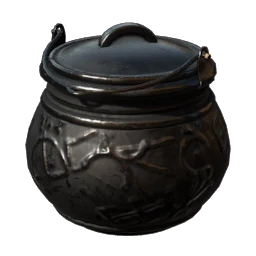
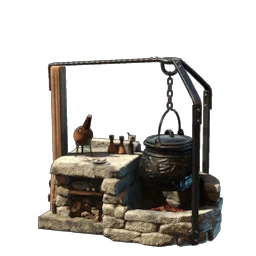
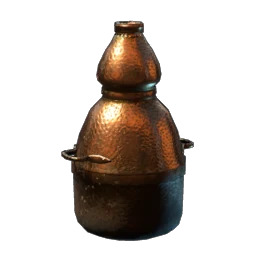
The Alchemist needs a Black Cauldron to establish an Alchemy Station. He heard stories of a sorcerer called Ikora from the Farmer, Emily Fray. Perhaps she knows more.
- Investigate Ikora's Whereabouts
The Farmer said that Ikora used to reside in Rattlebleak, a town in the the Nomad Highlands. Perhaps the Black Cauldron can be found at her shop.
Rattlebleak, Nomad Highlands · Show on map
- Follow Ikora's Trail
Ikora's shop is empty, and Rattlebleak is filled with strange, calcified statues. Perhaps this is related to Ikora's experiments with the Black Cauldron. Following the trail of statues might lead to her.
Cradle of Dusk, Nomad Highlands · Show on map
- Craft An Alchemy Station
Ikora, or what was left of her, was defeated. The Black Cauldron must be among her remains. The Alchemist will have use for it.
Rewards
Recipes tied to this quest
The Alchemist's RumorsWorld Quest
- Investigate The Troubling Rumors
The Alchemist has heard rumors of strange happenings in the Springlands. A group of Scavengers are abusing the Elixir and conducting cruel and unusual experiments.
Seek out their camp and smite them down to unlock an improved tool.
Hill of Scavengers, Springlands · Show on map
- Craft The Improved Grappling Hook
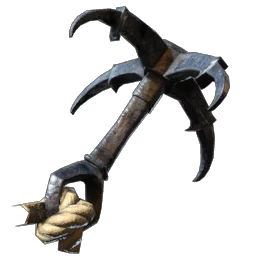
Slaying the Scavenger Matron at the Hill of Scavengers unlocked knowledge to craft an Improved Grappling Hook.
The improved tool will require less stamina to use. Craft it with the help of the Carpenter.
Rewards
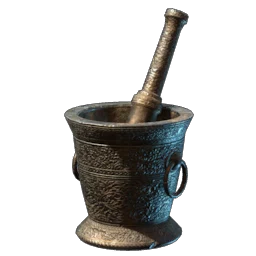
The Alchemist's Mortar
Leads to Crucible Needed For A Smelter, A Black Cauldron For The Alchemist, Table Saw For The Carpenter (1 of 2), Cooking Equipment For The Farmer
- Reach The Alchemist's Tower
Find the Alchemist's Mortar in order to unlock more crafting recipes. It's hidden in the Alchemist Tower in Lone Thistle, somewhere below the surface.
- Search The Alchemist's Basement
You've reached the Alchemist's tower! Search his basement to find his laboratory!
- Find A Way Inside The Laboratory
- Gather The Mortar
You've discovered a button in the Alchemist's tower!
Perhaps this button has opened the door to the basement downstairs? Proceed onwards and gather the mortar from the basement!
- Place The Mortar
Rewards
Recipes tied to this quest

Scientific Instruments For A LaboratoryWorld Quest
Comes after A Black Cauldron For The AlchemistLeads to Alchemic Wisdom
- Search For Clues About Loraine Crim
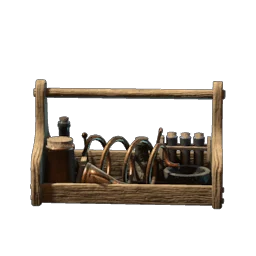
The Alchemist needs some Scientific Instruments to build a Laboratory. This will enable new crafting recipes and better healing.
His old friend, Loraine Crim, used Scientific Instruments for her research. Her last known expedition led her to investigate an Ancient Obelisk. The spot is marked on the map.
Obelisk Excavation Camp, Kindlewastes · Show on map
- Explore The Camp
A note reveals that Loraine Crim investigated an Ancient Dam before researching the Ancient Obelisks. She dropped her Scientific Instruments when her camp was attacked by vultures. The spot is marked on the map.
Eldermere Dam Excavation Camp, Kindlewastes · Show on map
- Craft A Laboratory
The Scientific Instruments were retrieved! They must be brought back to the Alchemist and crafted into a Laboratory to unlock more recipes and better healing.
Rewards
Recipes tied to this quest
Alchemic WisdomWorld Quest
Comes after Scientific Instruments For A Laboratory
- Reach The City Behind The Mountain Range
The Alchemist requires new knowledge of the realms to proceed on his journey in alchemy! The Flame has shown him a new source of wisdom beyond the mountain range — a lighthouse before a lake.
Find a way into the mountains with the help of the Flame and search for the town!
Obtaining new alchemical wisdom should reveal more crafting recipes and enable the crafting of better mage armors!
Wickmouth, Albaneve Summits · Show on map
- Search In The Lighthouse
You've reached the city by the lake. A part of the port has been swallowed by the Shroud, but a keen eye can spot the tip of a lighthouse not far away.
Reach the lighthouse and search the inside for a new source of wisdom!
- Follow The Vultures To Their Nest
You've entered the lighthouse and found half of a wall hanging. Its imagery depicts the makeup of complex alchemical solutions... or so you think.
Without the other half, you can't fully decipher the meaning, but combining both pieces will reveal many new crafting recipes, including purple fabric for crafting better mage armor!The lighthouse was seemingly attacked by vultures. Perhaps they took part of the wall hanging to their nests.
Reach the vulture nests to find the second half of the schematic!
Camellia Lake Marble Quarry, Albaneve Summits · Show on map
- Search The Quarry Vulture Nests
You've reached the nesting location of the vultures. The second half of the wall hanging cannot be far.
Search the vulture nests marked on your map!
- Combine The Pieces In A Frame
You've obtained both parts of the wall hanging!
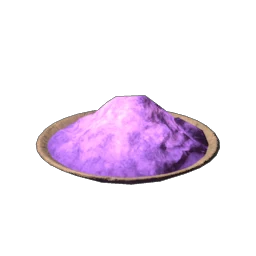
To decipher the meaning of its depiction, you must return home and place both pieces inside a frame! Combining the pieces will reveal more crafting recipes and enable you to create better mage armor with mauveine and purple fabric!
Completing the collection will unlock new crafting recipes. Since crafting recipes are shared serverwide, this collection must be assembled once per server to reap the benefits.
This entry will be completed once the collection has been assembled on the server. XP rewards are only awarded once.
Rewards
Recipes tied to this quest


Obtaining A MillWorld Quest
- Discover An Easier Way To Grind Materials
The Alchemist wants you to discover a more efficient way to grind materials. Perhaps you can discover a machine that functions without such manual labor!
Take a look around when you enter the Veilwater Basin. The Flame calls you towards a certain town that holds the answers you seek.
Riverreach, Veilwater Basin · Show on map
- Look For Clues In Riverreach
You've found a town called Riverreach.
This place uses water to power a large lumber refinement complex and a mill.
Reach the mill and observe how it operates to proceed!
- Close The Floodgates In Riverreach
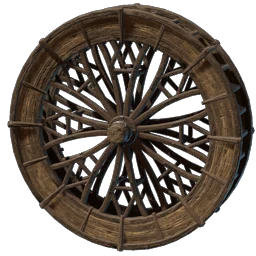
The water-powered wheels are connected to a grinding apparatus inside a building, but you can't take the millstone while the machine is working.
Perhaps you could harness the power of water and turn the apparatus off.
Stop the water flow in Riverreach near the water wheels outside to turn the machine off.
Riverreach, Veilwater Basin · Show on map
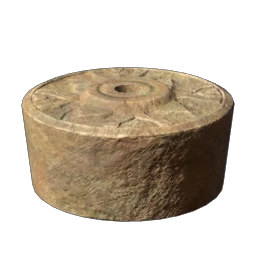
- Retrieve The Millstone While The Waterflow Is Turned Off
You've successfully turned off the water flow in Riverreach. This enables you to retrieve the millstone.
Head inside to take the grind mill component. Remember that all water flow needs to be stopped to keep the machine turned off.
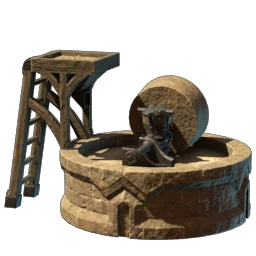
- Craft And Place A Mill
You've retrieved the improved millstone. With it, you can craft a mill.
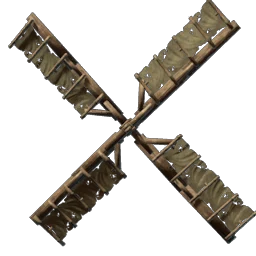
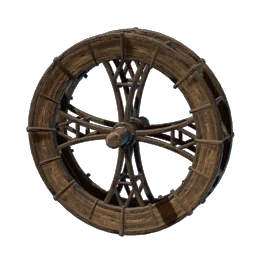
The mill will only function when there's a force generator nearby. A force generator can be a water wheel, which is placed in a water stream, or windmill sails. Both can be crafted at the Alchemist.
Rewards
Recipes tied to this quest
Explore The Hollow HallsWorld Quest
- Find And Prepare For The Hollow Halls
The Alchemist spoke of the "Hollow Halls" — underground crypts, sealed tombs holding the "Hollow": walking skeletal remains. Find the Hollow Halls in the Springlands, and learn what's kept buried there.
The Halls do not forgive the unprepared. Stock food, potions, bandages, ammo... and armor up. Bring a team if you can..
Hollow Halls, Springlands · Show on map
- Descend Into The Hollow Halls
You've found the Springlands Hollow Halls. Descend when you're ready — but know this: the Halls run deep, and the Hollow do not fall quickly. There is no rushing this fight.
Some chests in the Hollow Halls require Ectoplasm to be opened — collect enough on your descent!
Also make sure to save some Ectoplasm for crafting Bone Keys. - Summon Your New Follower
You've discovered a new survivor in the Hollow Halls.
Place them in your home with a summoning staff to proceed.
Rewards

Recipes tied to this quest
Craft The Improved Grappling HookWorld Quest
- Crafting An Improved Grappling Hook
Slaying the Scavenger Matron at the Hill of Scavengers unlocked knowledge to craft an Improved Grappling Hook.
The improved tool will require less stamina to use. Craft it with the help of the Carpenter.
Hill of Scavengers, Springlands · Show on map
Rewards
Finding And Using A Gem ForgeWorld Quest
- Find The Gem Forge
While researching, the Alchemist discovered that the Ancients once used gemstones as a natural power source for augmentation. The gems originated below the earth and have mysterious properties that allow them to cling to surrounding energies.
To harness the power of a gemstone, you will first need to know the location of a Gem Forge. Thankfully, the Alchemist knows where to look.
Reach the location marked on your map to proceed.
Gem Forge 2, Springlands · Show on map
- Clear And Investigate The Gem Forge
You've reached the location of the Gem Forge, but there are enemies nearby. Defeat the enemies inside the Gem Forge before taking a look around!
Gem Forge 2, Springlands · Show on map
- Find Out Where The Intruders Came From
You defeated the enemies inside the Gem Forge and discovered that they were holding onto
a resource called "Archaic Essence I".While the Gem Forge is still intact, the rest of the little sanctum is ransacked. Perhaps the Fell came here to claim the Archaic Essence I used in weapon augmentation for themselves.
Follow the footsteps of the Fell and find out where they took the stashed energy resource!
Shroud Lair 2, Springlands · Show on map
- Explore The Shroud Lair
The Fell took the Archaic Essence I into a winding, enshrouded cave. What purpose are they after?
Explore the depths of the Shroud Lair to proceed! Consider gathering more Archaic Essence I as you go forth to reclaim it from the Shroud!
- Defeat And Loot The Fell Banshee
The heart of the Shroud Lair is haunted by a Fell Banshee. The Shroud will continue to spread here and steal resources to fuel their own brood unless the Banshee is destroyed!
Defeat the Fell Banshee and claim her loot!
- Use The Gem Forge
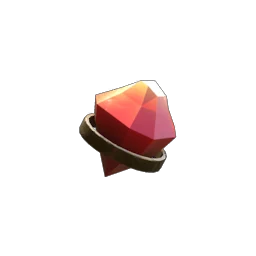
You've defeated the Fell Banshee and found a weapon gem!
Take your newly acquired gem, a suitable weapon, and the Archaic Essence I back to the Gem Forge.
Use these components to slot a gem into a weapon to empower it!Gem Forge 2, Springlands · Show on map
Rewards
Among The BluejaysPlayer Quest
Comes after Sun Temple Stories (step 1: Speak To Emily Fray About Elin's Curse)Leads to Ignite The Snowy Mountaintops
- Search For The Legendary Glider
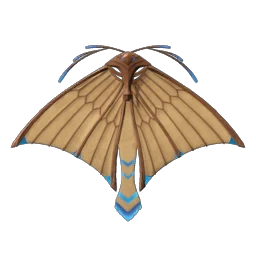
The Alchemist mentioned the location of a legendary Glider. The spot is marked on the map.
Scatterbone, Kindlewastes · Show on map
- Enter The Sun Temple
The camp the Alchemist mentioned is right by an ancient Sun Temple. The legendary Glider must be inside.
Rewards
Alchemist Needs Shelter
- Build A Sheltered Bed For Balthazar
The Alchemist needs shelter to work. Build a home for the Alchemist and grant him access to a nearby sheltered bed if you haven't already!
To shelter your survivors, craft a suitable bed. Place the bed in a protected area easily accessible by survivors. It will automatically be assigned to the nearest free survivor upon being placed. If you wish to re-assign the bed, equip your Summoning Staff and use it while aimed at the bed.
This quest will reopen to notify you once your survivors are no longer sheltered.
Staves And SpellsPlayer Quest
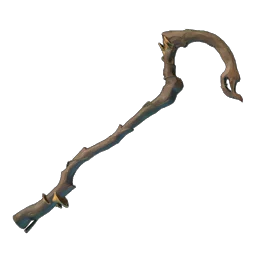
- Craft The Alchemist's Staff
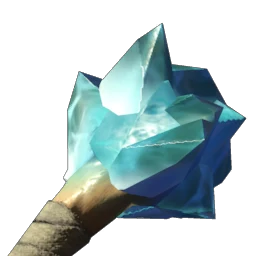
The Alchemist wants to craft a Spiritual Cane. Staffs use spell charges, channels, or eternal spells as ammunition and are powerful magical weapons. Crafting the staff requires Shroud Wood, which can be found beneath the Shroud.
Rewards
A Cure For The Fell CursePlayer Quest
- Talk To The Alchemist
Your last fight against the Fell left you scarred. You cannot grasp the situation yet, but whenever you enter the Shroud, the choking fog suffocates you much quicker.
You should ask the Alchemist about a cure to ensure this new ailment doesn't impact your vitality long-term.
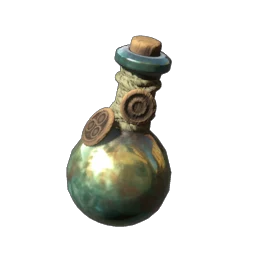
- Cleanse The Fell Curse
Your talk with the Alchemist was enlightening, but disturbing just the same.
You learned you were cursed on your last expedition into the Shroud. The ailment has long-term consequences for your vitality, and you will suffer from this malaise until you find a cure.
The cure can be made from materials that can be found above the Shroud at night, scattered among groups of Fell foes.
Gather the materials, craft the cure, and use it to cleanse yourself.
Rewards
A Cure For HemotoxinPlayer Quest
- Talk To The Alchemist
Repeated exposure to toxins has thickened your blood, weakening you significantly.
You should ask the Alchemist about a cure to ensure this new ailment doesn't impact your vitality long-term.
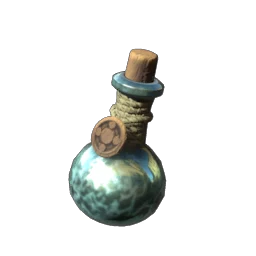
- Craft And Use A Hemotoxin Antidote
The Alchemist has informed you that you're suffering from Hemotoxins. To craft a cure for this ailment, you must acquire spider glands and moths.
The moths can only be caught at night.
Craft the hemotoxin antidote and use it!
Rewards
An Eternal SpellPlayer Quest
- Reach The Buried Tomb
The Alchemist mentioned that certain spells are imbued with endless magical energy. Such spells are called eternal spells, and they don't deplete when used as staff ammunition. They can be used indefinitely.
These spells are scattered throughout the world, but one was buried alongside its former owner in an underground grave. Find the buried tomb and retrieve the eternal spell to use it.
Hidden Tomb Entry 2, Springlands · Show on map
- Find The Eternal Spell
You've found the buried tomb home to an eternal spell. Enter the tomb and find the spell to make its power yours!
Hidden Tomb Entry 2, Springlands · Show on map
Rewards
Items the steps check for
A Glimpse Of EternityWorld Quest
- Uncover The Secrets Of The Hidden Tomb
The alchemist told you about a mad wizard obsessed with creating a spell for eternal life. He allegedly conducted his experiments deep underground, where no one could see what he was truly doing. It’s uncertain if he ever achieved the spell he sought — but he did create something. Go to the hidden tomb where he is said to have worked, and search for any traces of him.
Hidden Tomb, Veilwater Basin · Show on map
- Locate and Explore the Next Tomb
You have found a record of the experiments the mad wizard conducted. Sadly, his work in this tomb was unsuccessful, but he cryptically noted where his next experiment would take place:
"From the water, I cross Gateway Outpost "Darkwater" and venture into the jungle to seek the next tomb."Venture to the next tomb and uncover its secrets.
- Locate and Explore the Next Tomb
The wizard was indeed experimenting in this tomb, and you have also discovered one of his results: an eternal fireball. Yet he was unsatisfied with his creation and declared he would continue his journey to a hidden tomb behind the great tower in the lake, close to Goldrock Saddle.
Seek out this tomb and continue your search for the wizard’s spell experiments.
- Locate and Explore the Next Tomb
With this creation, the wizard came very close to his goal. Unfortunately, he had created a heal beam channel — one that grants life to others, not himself. In his egocentric mind, this was a disaster. He mentioned that the next tomb isn't far. He heard its more like a maze, and some race through it as a challenge. He is delighted at the thought, that many apprentices will be there.
The tomb is supposed to be close to the Mining Rift towards the Blackmire.
- Locate and Explore the Next Tomb
The creature that seized the spell gave the wizard quite a fight. He had to hunt it down until they emerged on the other side of the tomb. Who would have thought this tomb was a tunnel? Yet again, he ended up creating a lightning spell — and still no eternal life spell. He already feels defeated, believing there is only one tomb left where he can attempt his experiments unnoticed. It's near Stillwater Bay towards the foot of the hills.
- Return To The Alchemist
The wizard’s final experiment resulted in an eternal ice bolt spell. He believed he could use it to freeze himself and, in doing so, achieve eternal life — in a way.
Go back to the Alchemist and tell him about your findings.
Rewards

Cat SearchWorld Quest
- Craft Cat Food Bait
The Alchemist mentioned that his old home in Lone Thistle attracted cats because of a rat infestation. Even after all these years, there's a chance that some cats still populate the area.
Craft cat food bait with the Farmer for taming a stray cat to proceed!
- Reach The Alchemist's Tower
You've crafted the cat food needed to tame a stray cat. Now go to Lone Thistle and search the Alchemist's tower above the Shroud to find and tame a cat!
- Find And Tame A Stray Cat
You've reached the Alchemist's tower. Search inside for a stray cat!
- Place The Cat In Your Home
You've picked up the stray cat from the Alchemist's tower! Place it in your home to welcome it!
- Craft A Cat Bowl And A Cat Bed
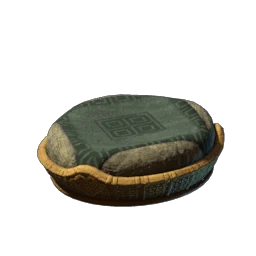
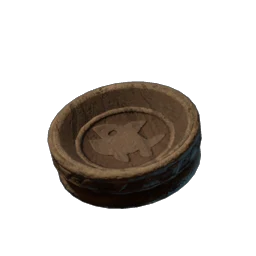
You've placed the cat in your home! Now craft a cat bowl and a cat bed to make your new pet happy!